


Kojack twin axle caravan jack KJ4000T manual
WARNING – This is a machine translation function, please follow these instructions with caution.
General safety
Important Safety Instructions
Read this User Manual carefully before use. Failure to comply with these rules could result in serious injury or damage to property.
1.Read ALL of this User Manual and become familiar with the product’s application, limitations and possible hazards.
2.These symbols identify important safety precautions. They mean CAUTION! WARNING! SAFETY FIRST!
3.Keep work area clean and free from obstruction.
4. Keep children at a safe distance of apparatus whilst in operation.
5.Only use adapters and accessories that are supplied or recommended by the manufacturer.
6.Keep the apparatus clean and in good operating condition.
7. Inspect the scissor jack each time you use it. Ensure that there are no loose, bent or missing parts. Never attempt to use the jack if it is in any way defective.
8.Do not operate the jack if you are under the influence of drugs, alcohol or any medication that could impair your ability to use the equipment safely.
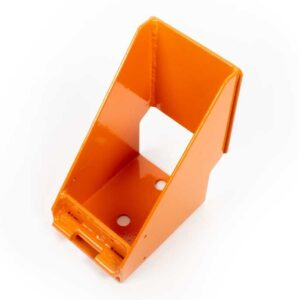
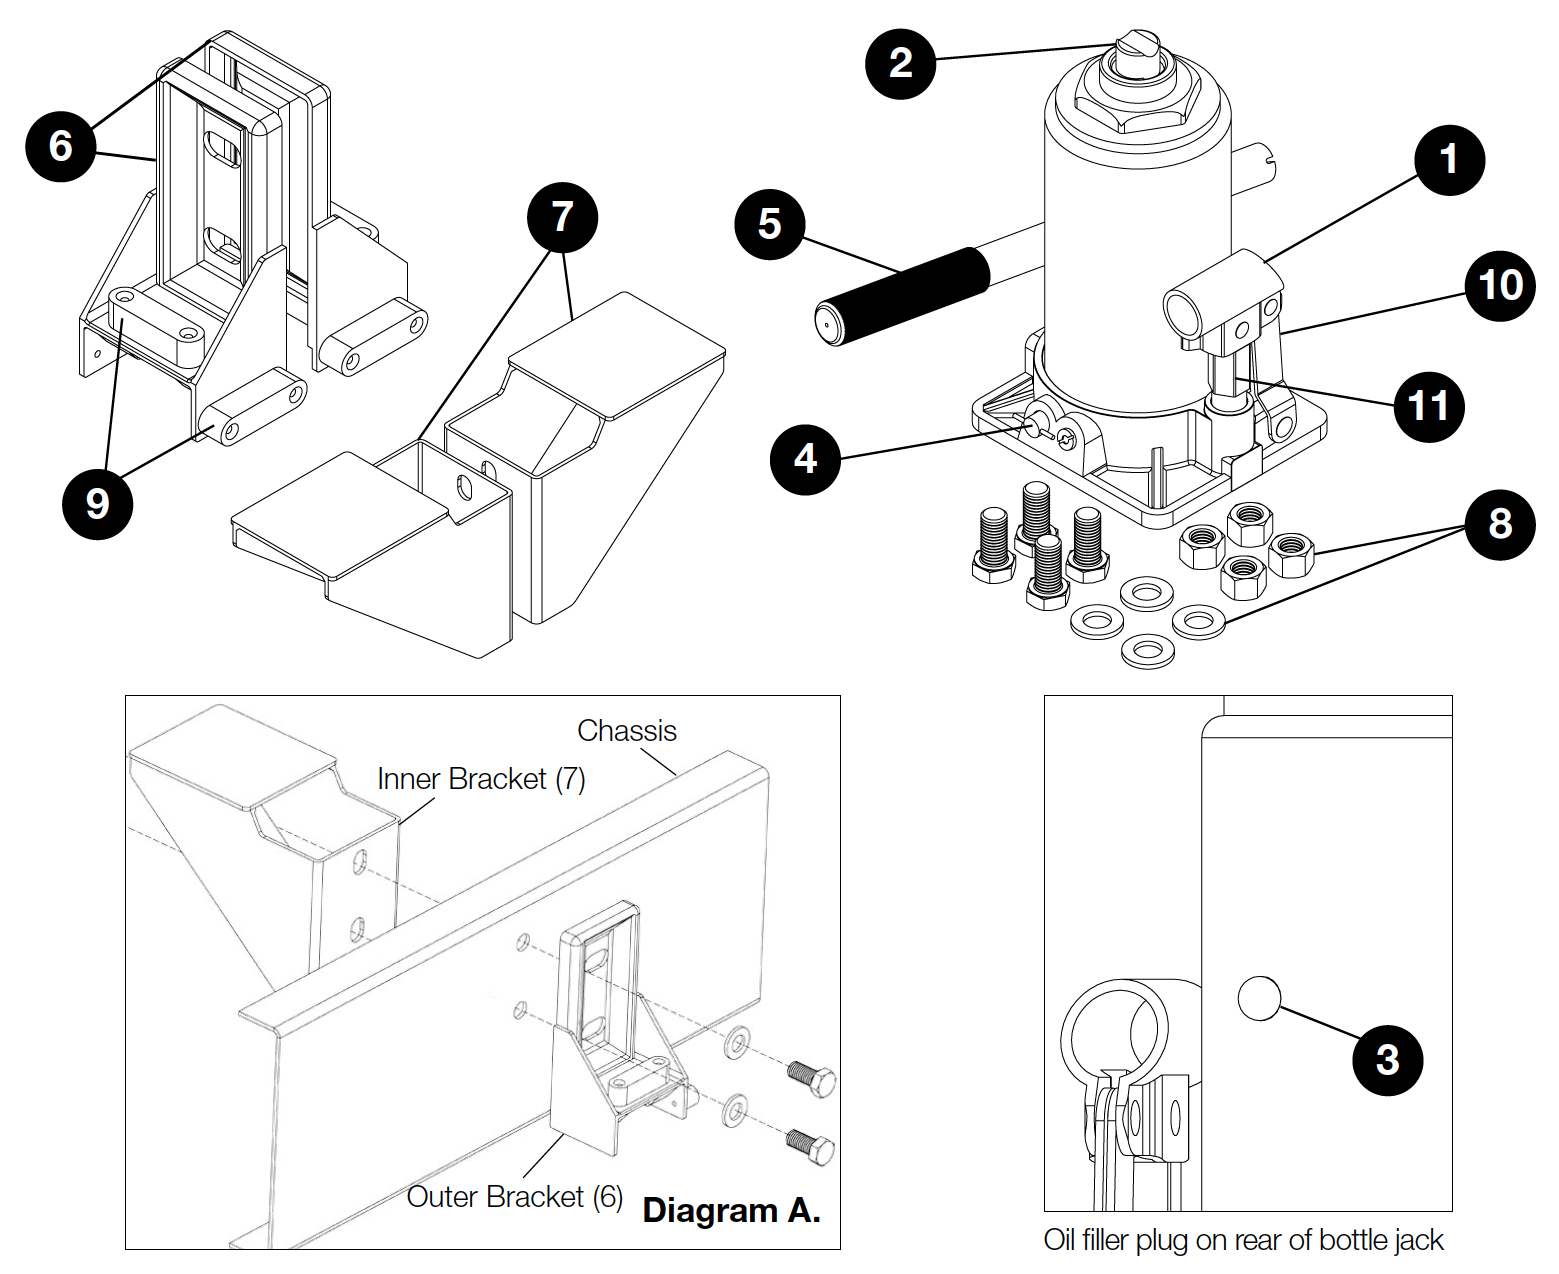
Parts identification & fitting diagram.
Installation & operation
This jack is designed for lifting purposes only. After jacking, always use safety stands to support load before making any repairs. For your safety, do not overload beyond rated capacity and do not adjust safety valve.
1. The chassis brackets are suitable for AL-KO caravan chassis manufactured after 1992 that have pre-drilled mounting holes already on the chassis.
2. The chassis brackets should be mounted, behind the axles on both sides. 2 sets of bolts, washers and nylock nuts are supplied for fixing the brackets onto both sides of the caravan.
3. Please refer to Diagram A. Working on the outside of the chassis face, line-up the holes on one of the outer brackets (6) and inner brackets (7) with the pre-drilled chassis holes and insert the bolts with washer through the apertures. Note: The bolt heads and washers must be on the outside of the chassis with the nylock nuts on the inside.
4. Screw on the nylock nuts and tighten securely. Ensure that the brackets are, as close as possible, at 90° degrees to the horizontal floor of the caravan. Careful fitting at the stage, ensures that the spirit levels will give a true reading to aid accurate levelling.
5. Repeat the procedure to fit the remaining brackets to the opposite side. Ensure that the bolts are sufficiently tightened up to 86Nm.
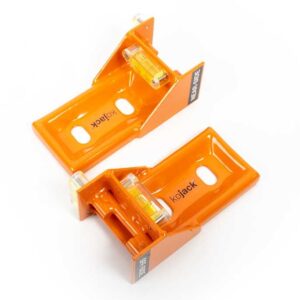
LEVELLING AID
1.The inclusion of 2 spirit level vials per bracket (8) (one for the length of the caravan and one for width) provides the caravanner with accurate guidance in determining and adjusting the level of the caravan.
2. With the aid of the easy to use hydraulic jack, the level of the caravan can be adjusted simply and chocked accordingly with suitable platforms.
HYDRAULIC JACK OPERATION
1.Before jacking, the caravan must be attached to the towing vehicle and the handbrake must be applied on both the caravan and the vehicle.
2.Chock the caravan wheels (back & front) on the opposite side to the wheels to be lifted/changed. Place the jack in-line with the bracket on the side of the caravan to be raised. If the ground surface is soft, a board, plank or similar should be placed underneath the jack.
3.Tighten release valve on base of jack by turning the valve (4) clockwise, do not over-tighten.
4.Insert the operating handle (5) into the handle socket (1) and pump the handle up and down until the slotted saddle (2) is aligned with the base of the chassis bracket (6/7).
5.Once correctly aligned, continue to pump handle to raise the caravan to the required height. Use smooth, full strokes for best results.
6.To lower the caravan, remove the handle (5) from the handle socket (1), then use the notched end of the handle to turn the release valve (4), carefully and slowly, anti-clockwise – no more than one full turn.
NOTE: Jack can be extended further by unscrewing the slotted saddle (2). This needs to be extended before operation if additional height is required.
Do not raise the caravan more than necessary; only raise until the wheel is sufficiently clear of the ground.
Do not lie underneath the caravan whilst it is jacked up as this could result in serious injury.
CARE & MAINTENANCE
1.Do not totally unscrew and remove the Release Valve (4) as this may unseat the rubber seal from the bottom of the housing.
2. When not in use the lifting arm (9) and pump (10) should be in the lowest position.
3. Keep pivot points well lubricated.
4. Change hydraulic oil at least once a year.
5. To check oil level:
a. With the lifting arm (9) in the lowest position, remove oil filler plug (3) on rear of body.
b. With jack upright, the oil should be level with the bottom of the fill hole.
c. If necessary, fill reservoir until level with the oil filler plug hole. Fill with high quality hydraulic jack oil only. DO NOT use brake fluid, transmission oil or turbine oil.
d. Reinstall the oil filler plug (3).
6. To purge trapped air:
a. Open release valve (4) one full turn.
b. Hold down the lifting arm (9) and
c. Operate pump handle (5) for eight full strokes.
d. Close release valve.
e. Pump handle until the jack reaches maximum height and continue to pump several times to remove any trapped air.
f. Depress the rubber oil filler plug (3) just enough for any air to escape.
g. Open release valve counterclockwise one full turn and lower jack piston to its lowest position. Use force if necessary.
h. Close release valve and check for proper pump action. Repeat as necessary.
7. Clean the jack with a soft cloth and mild detergent or solvent.
PRODUCT REGISTRATION
Please store your keys in a safe place and remember to register your product.
Please register within 14 days of purchase. Please retain your original purchase receipt.
SPARE PARTS
The following spare parts are available to purchase: